How to set up milestone billing as a freelance designer
Split your fee into milestones that unlock each stage of the project — so you never start, or deliver, unpaid.
The Wuilder team 7 min read
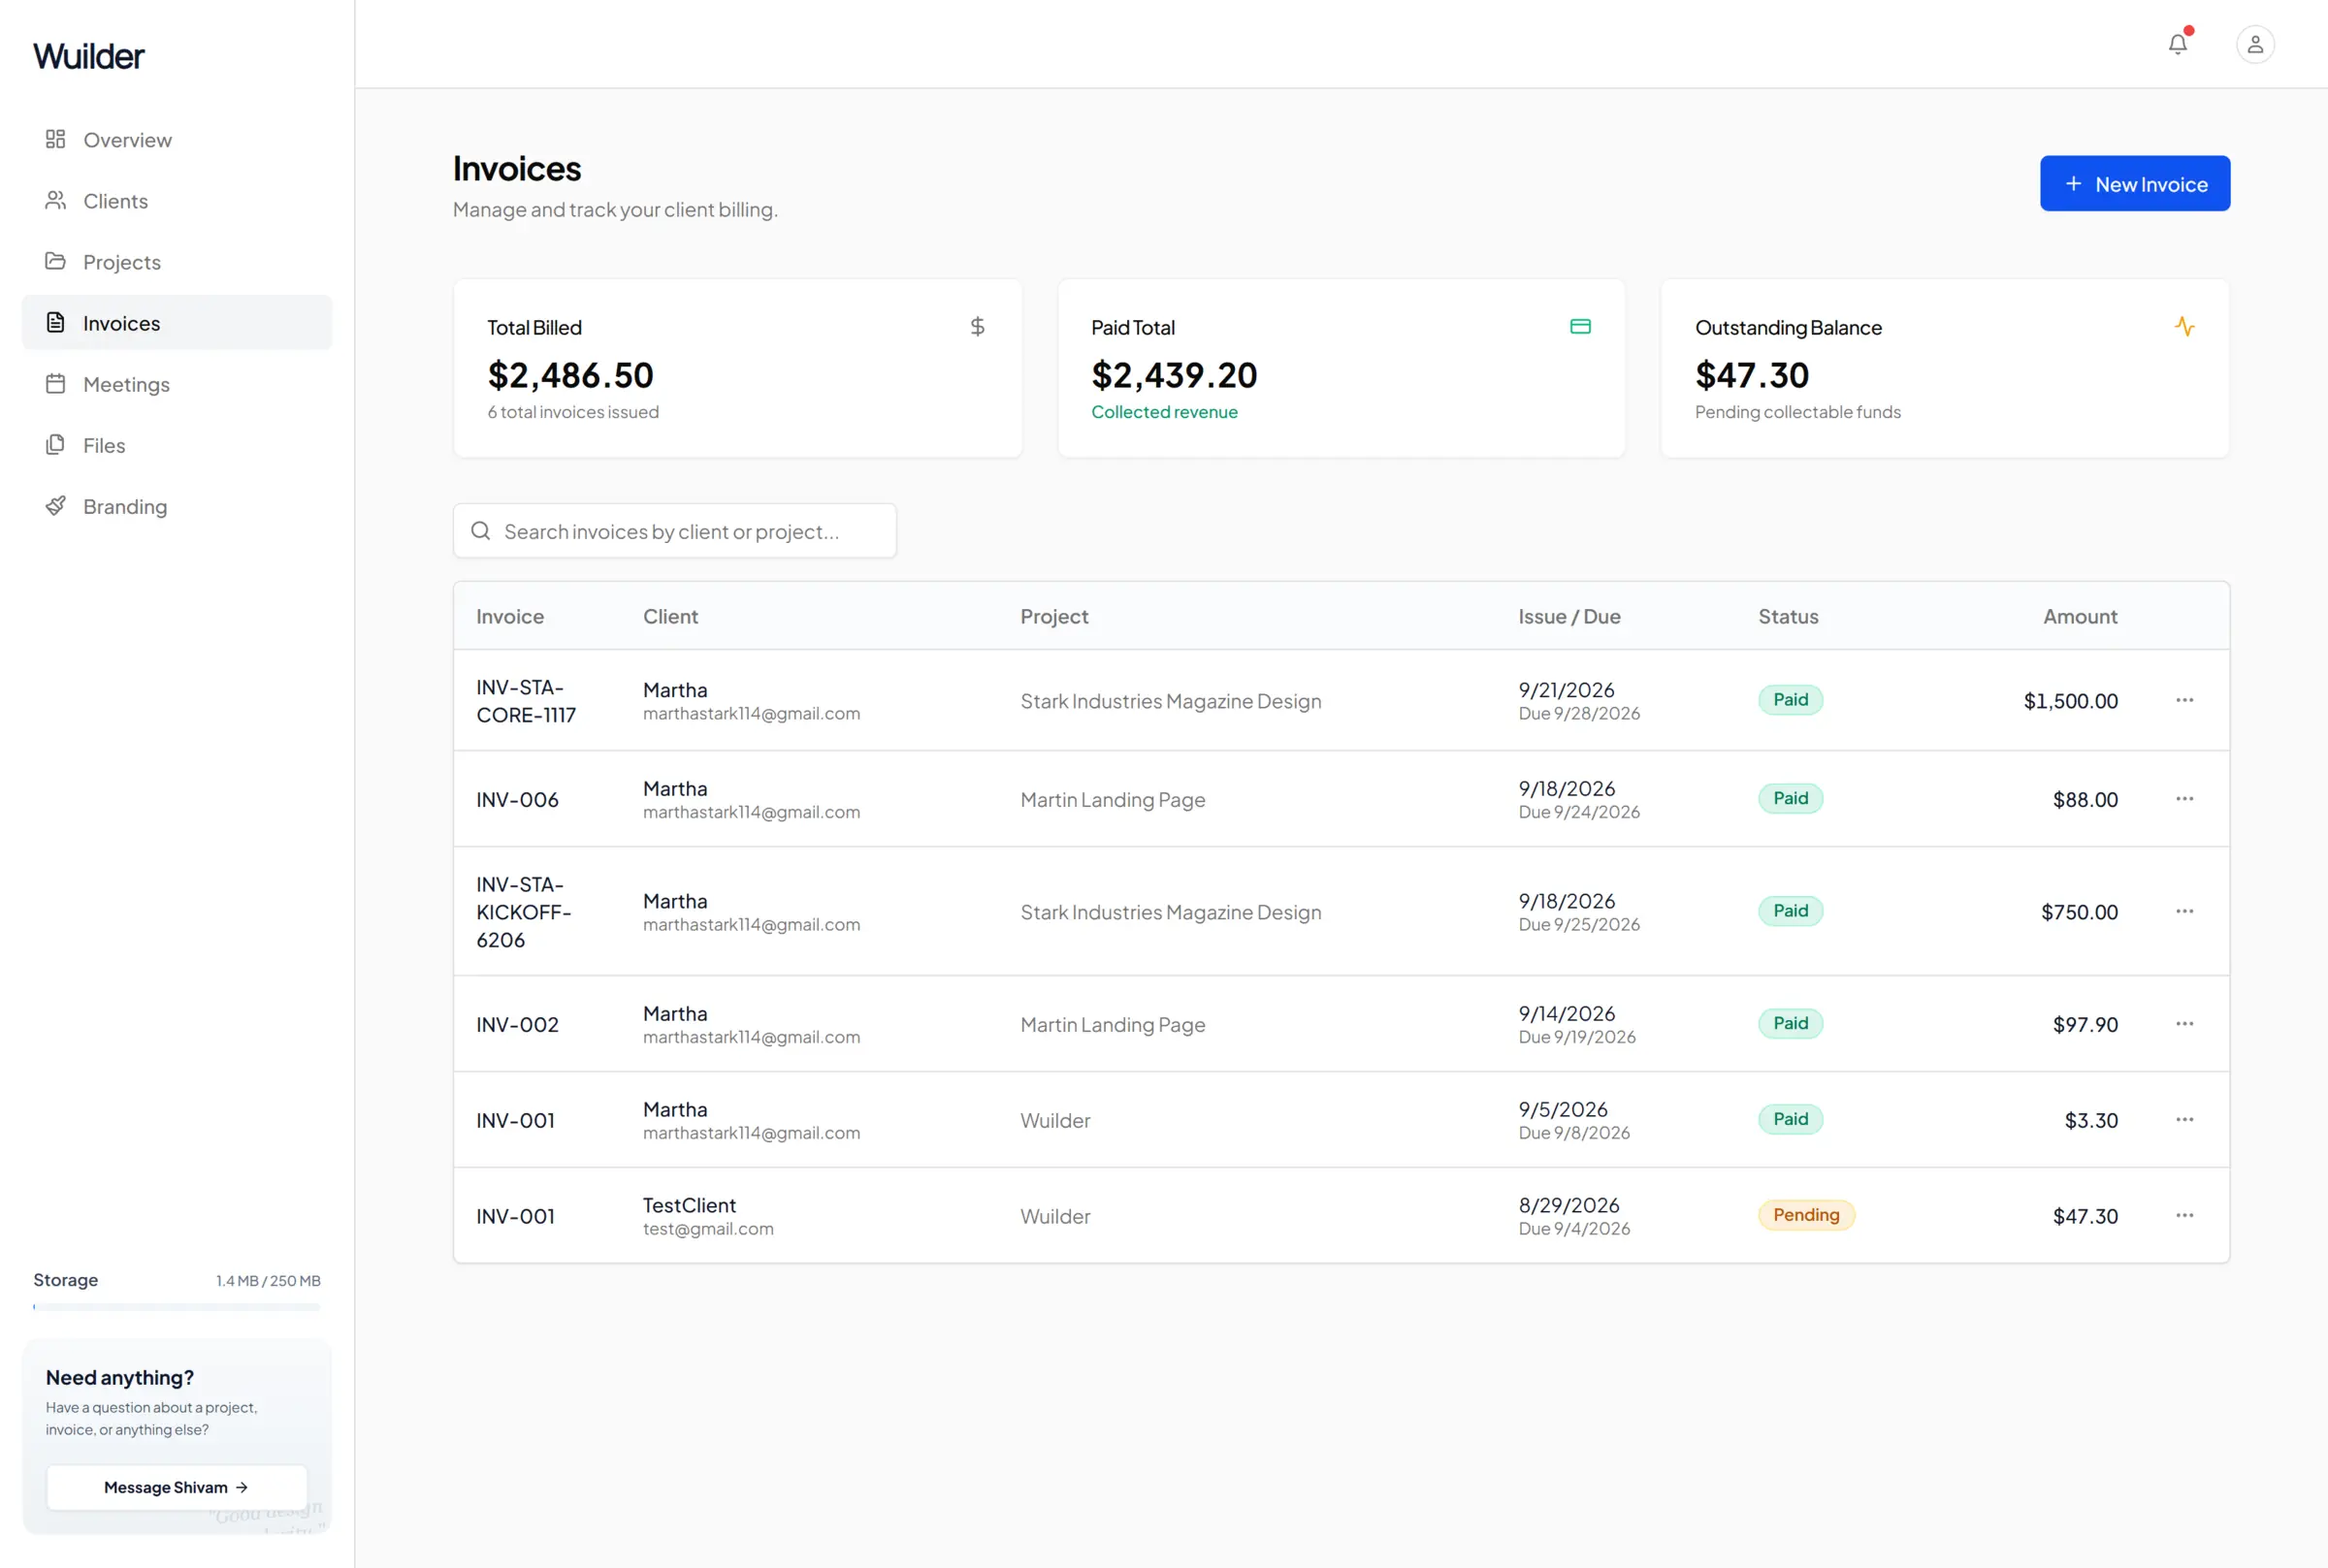
Most payment problems in design work come from one moment: the work moved forward before the money did. Milestone billing fixes that by tying each payment to a stage of the project.
What milestone billing is
Instead of one invoice at the end (or a vague "half now, half later"), you split the fee into milestones, and each milestone is required before a specific stage:
| Split | Before Kickoff | Before Core Creation | Before final files |
|---|---|---|---|
| 50 / 50 | 50% | — | 50% |
| 50 / 25 / 25 | 50% | 25% | 25% |
| 100% upfront | 100% | — | — |
The rule is simple: a stage doesn't open until its payment is confirmed.
Choosing a split
- 50 / 50 suits short projects (a logo, a landing page). The deposit covers your time; the final files cover the rest.
- 50 / 25 / 25 suits longer projects with a clear design phase. The middle payment protects you before the heaviest work.
- 100% upfront works for small, fixed-scope jobs and repeat clients.
Tip: put the split in your agreement. When the client signs, they're agreeing to the gates, not just the price.
When each invoice should go out
- When the client signs — the upfront milestone.
- When you start the design work — the Core Creation milestone, if you have one.
- When you send the final files — the last milestone. The client can see the file list, but downloads unlock after payment.
"I paid" isn't paid
Clients will click a payment link and assume it's done. Treat the click as a heads-up, not proof: check that the money arrived, then unlock the next stage.
Doing this in Wuilder
Pick a split when you create the project and Wuilder sends each milestone invoice at the right moment. When a client clicks Pay Now, it shows up on your overview with a Verify button; verifying unlocks the next stage for them instantly.
Keep reading
The client onboarding checklist for brand designers
Agreement, deposit, brief, files — the order that makes every project start smoothly.
Read GuideWhat to include in a final design handover
A clean handover makes you look like a studio — and gets the last invoice paid. Here's what to include.
Read ArticleWhy your design feedback rounds keep running long (and how to fix it)
Vague feedback, scattered channels and unclear approvals turn two rounds into six. Here's how to keep reviews tight.
Read